
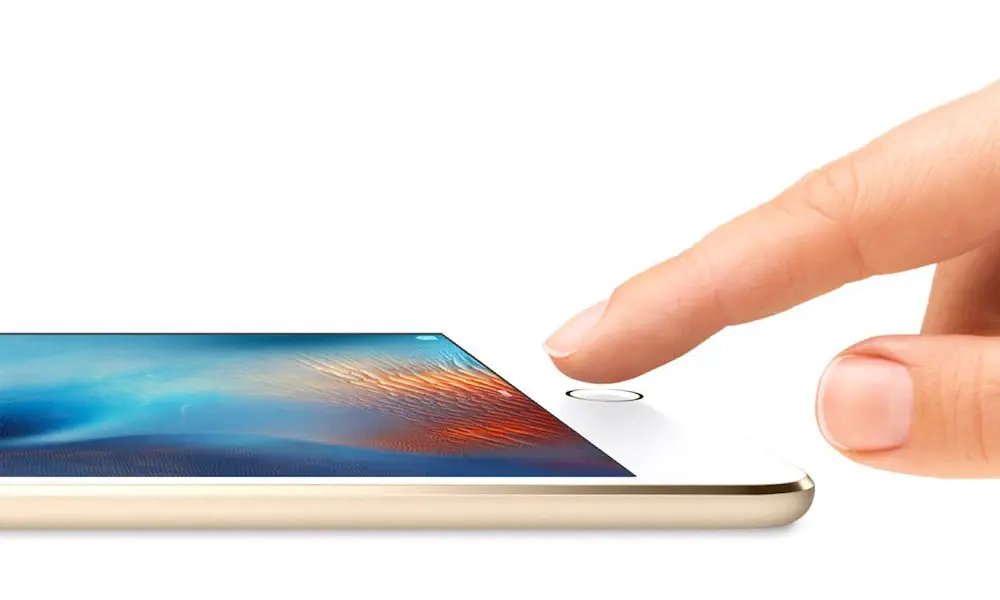
Use Touch ID to securely and conveniently unlock iPhone and iPad, authorize purchases and payments, and sign in to many third-party apps by pressing the top button or the Home button with your finger or thumb. Apple claims Touch ID is secure, and for the most part that’s true. It’s amazingly far-fetched any random person could open your phone. Yet, that is by all account not the only sort of assault to stress over it.
To use Touch ID, you must set a passcode on your iPad. Touch ID allows you conveniently access your iPhone by utilizing your fingerprint.
What we will see here?
Setting up Touch ID first!
You can register a fingerprint for Touch ID as a component of the initial set up process. You can likewise set it up, or add extra fingers, whenever.
- Dispatch the Settings application from your Home screen
- Enter the Touch ID and Passcode
- Type in your password for approval, whenever if asked.
Touch ID requires a password, so in case that you don’t have one as of now, you’ll be approached to make one.


- Choose the Add a Fingerprint button.
- Spot the finger you need to register on the Home button and leave it there until you feel a bustle. In case you are on the 2020 iPad Air, place your finger in the Power button
- Lift your finger and spot it back down. Repeat each time you feel a bustle.
- Hit continue when Touch ID alarms you.
- Spot the edges of the finger you need to register on the Home button or the Power button and leave it there until you feel a bustle.
- Lift your finger and spot it back down. Rehash with an alternate edge until you’ve registered the whole surface of your finger.
- Hit Continue to wrap up.


Rehash for each extra finger you need to add, up to five total. You can register any mix of your and others’ fingerprints, including family or staff. You can even incidentally register any friend simply in case of emergencies, without giving them your passcode or password.
Recognizing a Touch ID fingerprint
In case that you registered a fingerprint with Touch ID yet don’t recollect which one is which — i.e., is Fingerprint 1 your correct thumb or left index finger? — you can look at and find. That is the way you can ensure you rename and erase the correct ones in the future.
- Dispatch the Settings app.
- Hit Touch ID and Passcode.
- Enter your password when it’s inquired.
- Look down to the Fingerprints area.
- Spot your registered fingerprint on the Home button or the Power button.
- Search for the name that changes colour from white to grey.


Naming a Touch ID fingerprint
Maybe than identifying your fingerprints each time you need them for something, you can name them to simplify it simpler and faster to find the one you’re searching for.
- Dispatch the Settings application.
- Enter the Touch ID and Passcode.
- Enter your password when it’s inquired.


- Hit on the Finger you need to rename.
- Type in another, more recognizable name for your fingerprint.
- Tick on the Touch ID and Passcode on the upper right corner to return.

Rehash the last three stages until all of your fingerprints are stamped.
Turning off Touch ID for Lock screen, Apple Pay, iTunes and App Stores
Touch ID is suggested as an add on benefit. In case that you prefer more security on your Lock screen, similar to a solid alphanumeric password, you can turn Touch ID off.
- Dispatch the Settings application from your Home screen.
- Hit the Touch ID and Passcode.
- Enter your password when provoked.
- You can now toggle the iPhone and iPad Unlock, iTunes and App Store, Apple Pay, or Password AutoFill to Off.


Deleting a Touch ID fingerprint
In case that you have given somebody fingerprint access to your device for a emergency, or another explanation, and you needn’t need that individual to approach any longer it’s a smart thought to erase their unique finger impression. That is on the grounds that erasing Touch ID fingerprints is significantly simpler than adding them!
- Dispatch the Settings application on your Touch ID competent gadget.
- Enter the Touch ID and Passcode.

- Enter up your password when provoked.
- Hit on the fingerprint you need to erase.

- Tick on Delete Fingerprint.

- Choose on the Touch ID and Passcode on the upper right corner to return.
Rehash stages 4-6 for each fingerprint you need to erase.
Conclusion
Touch ID is an electronic fingerprint recognition feature, designed and released by Apple Inc., that allows users to unlock devices, make purchases in the various Apple digital media stores (the iTunes Store, the App Store, and the Apple Books Store), and authenticate Apple Pay online or in apps. It can also be used to lock and unlock password-protected notes on iPhone and iPad. Touch ID was first introduced in iPhones with 2013’s iPhone 5S. The Touch ID sensor is either in the Home button or—on iPad Air (4th generation)—the top button.


